
The Quick Answer: Restart the device and attempt charging with an alternative cable, adapter, and outlet. If the issue persists, consider uninstalling recently downloaded apps and examine the charging port with a flashlight to ensure there is no debris. If none of these steps resolve the problem, it is advisable to seek assistance at a service center for further support.
Don’t you hate it when your phone suddenly refuses to charge? It can be frustrating and leave you scrambling for a solution. Luckily, many charging problems can be resolved at home without rushing to a service center. So, if you’re facing the issue of your Android phone not charging, give these troubleshooting tips and tricks a try.
1. Reboot Your Phone
When your phone doesn’t charge after plugging it in, start by performing a simple reboot. Sometimes, there can be a temporary connection glitch causing the problem. Restarting your device helps resolve various issues by killing background services and refreshing core components.
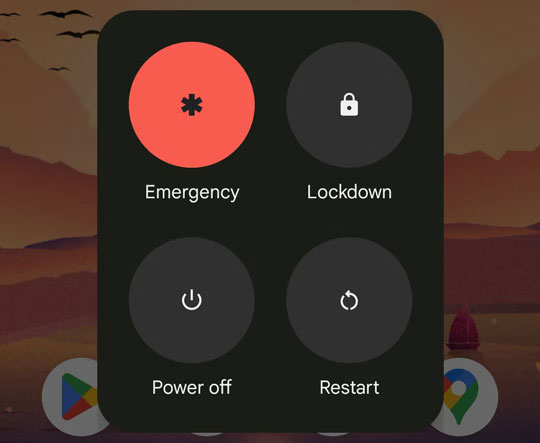
To quickly reboot your phone, press and hold the power button, then select the Restart option. Depending on your phone model, you may need to press the power and volume up buttons simultaneously.
2. Try Safe Mode
If rebooting doesn’t solve the issue, boot your phone into safe mode. This mode limits your phone’s functionality to its original software, disabling any third-party apps you’ve installed.
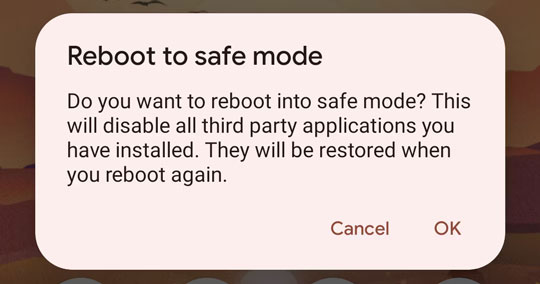
To enter safe mode on most Android devices, press and hold the Restart button when powering off your phone. A prompt will appear, allowing you to reboot into safe mode. Exit safe mode by restarting your phone normally.
Charging your phone in safe mode helps identify if a third-party app is causing the charging problem. If your phone charges successfully in safe mode, uninstall recently installed or suspicious apps. Then, restart your phone and check if it charges normally.
3. Check Cable, Adapter, and Outlet
If your phone still won’t charge, it’s time to inspect your charging cable, adapter, and power source. A loose wire in the cable, a malfunctioning adapter, or a faulty socket can be the culprits. To rule out hardware issues, try charging your phone using a different cable, adapter, or power outlet.
To verify if the cable is causing the problem, connect your phone to a computer using a USB cable. If your phone charges when connected to the computer, it indicates that the adapter and socket are likely at fault.
If an alternative cable solves the issue, consider investing in a new, high-quality cable. Opt for first-party accessories or reputable third-party brands like Anker to avoid subpar cables.
4. Check for Software Bugs

If your phone displays incorrect charging information (charging when it isn’t or not charging when it is), there may be a software bug causing the issue. Install the Ampere app, a free tool that provides real-time information about your phone’s charging status, battery condition, voltage, and temperature.
Connect your phone to a power source and open the Ampere app to check if it detects charging activity. If your phone is charging but doesn’t show the charging icon, a software bug is likely to blame. You can try updating your Android operating system or performing a hard reset to resolve it.
5. Clean the Charging Port
If the Ampere app indicates no charging activity, debris in the charging port might be obstructing the connection. Dust and dirt can accumulate over time and prevent your phone from charging properly.
Inspect the charging port and clean it gently using a dry cotton swab. Avoid using excessive force or inserting anything too deep into the port to prevent damage. For a closer look, use a flashlight to inspect the port’s interior. If you notice any foreign debris, carefully remove it using a SIM ejector tool or a toothpick. Be cautious not to damage the charging pins.
After cleaning the port, try charging your phone again.
6. Check for Water Damage
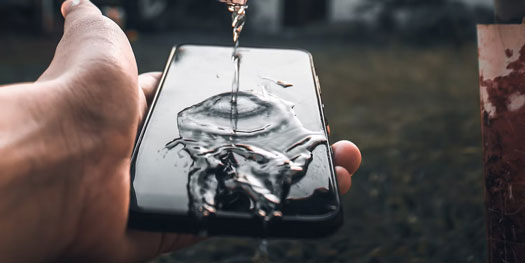
If your phone has come into contact with water and is now refusing to charge, water damage could be the cause. Water and electronics don’t mix well, even if your phone is water-resistant. It’s crucial to take special care to ensure your phone is dry and free from moisture.
Do not attempt to charge your phone if there’s a possibility of water damage. Instead, allow the phone to dry completely in a well-ventilated area for at least 24 hours. Avoid using rice or other DIY drying methods, as they are not effective and can cause further damage.
After the drying period, attempt to charge your phone again. If the connections are dry, you may find that it starts charging properly.
7. Seek Professional Help
If all else fails and your phone still won’t charge, it’s advisable to visit a service center and seek professional assistance. They can identify any faults or diagnose hardware failures that you may have missed. If your phone is still under warranty, the repair might be covered, but if not, there could be a cost involved in replacing the problematic component.
Taking Charge of Charging Issues
Charging problems have become increasingly common due to the intricate nature of phone components. This is especially true as phones become thinner and more advanced, requiring careful maintenance.
Hopefully, these troubleshooting tips have helped you understand why your phone isn’t charging and provided you with the necessary tools to fix the issue.

